Today I'm off through the ice and snow to fetch our Mimi from University and bring her home for the holidays. While I'm away, I thought I would share one of my favorite things to make this time of year and that is the snow star. They look so impressive but are so easy to do.

Supplies :

- copy paper
- scissors
- glue stick
- Fold the sheet corner to corner to make a square.

- Cut off the excess flap. Now you have a triangle.

- Fold the triangle in half again to make a smaller triangle.

- We are going to make four cuts. Feel free to us a pencil to make little marks so you know where you want to cut. First, make a cut following the length of the triangle. Stop a little bit before you get to the edge.

- Move up a little on the triangle. Cutting in the same direction, stop before the edge and a little before the previous cut.
- Continue in this way for two more cuts.
- Unfold your triangle. Once open you will have a square.

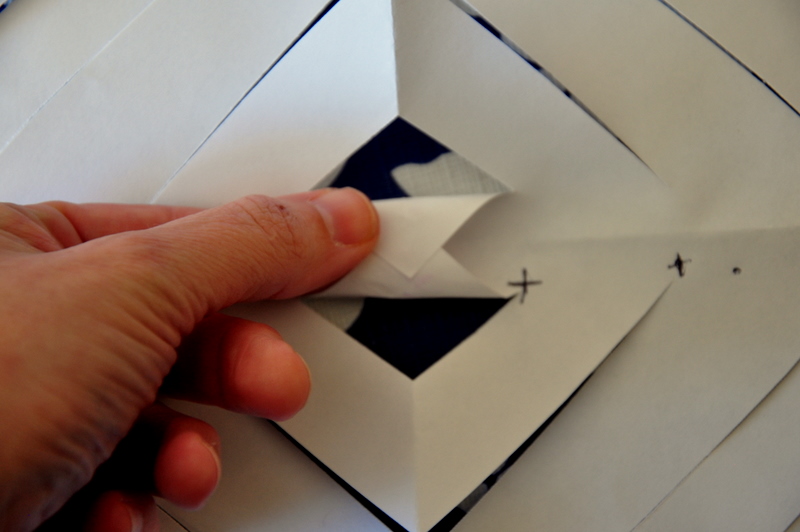
- Fold the two center cuts and glue. Hold with your fingers for just a few seconds to make sure its secure.

- Turn the square over and fold the second cuts, gluing them together. Again, use your finger to hold in place until they dry a bit.

- Turn the square over and fold the third cuts, gluing them together. Hold with your fingers.

- Turn the square over and fold the fourth cut, gluing and holding them together.

- Turn the square over and fold the fifth cut, gluing and holding them together.


Ta dah! You've finished the first point of your star. Now you have the honor of doing this five more times. It goes very quickly.

Once you have six star points, its time to put them together.
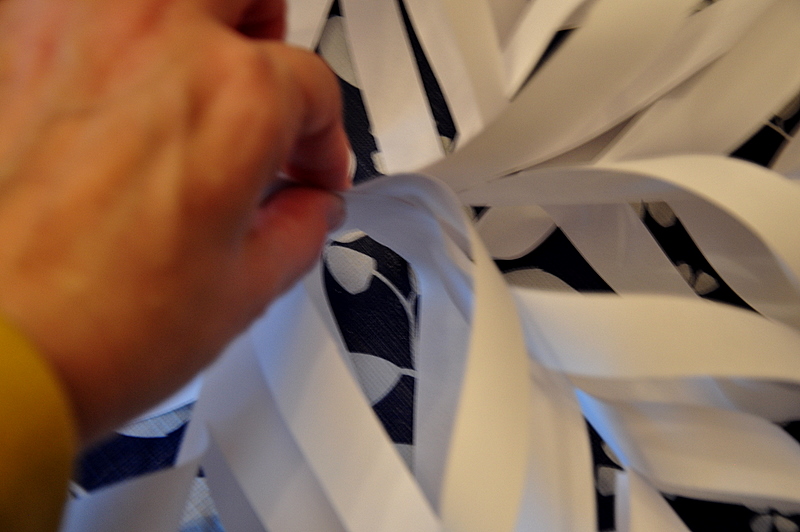
- Glue together the side part of each point and build your star. Again hold the sides together with your finger until they are stuck together.

- Continue all the way around. On the last section, after I've glued the last side, I hold it with a paper clip.

- Now it's time to do something else for an hour while your star dries. When we come back, we're going to glue the inner tips together and thread a ribbon to hang our lovely snow star.


Point Gluing
- Glue the three sides of the points together and then the tips/ends.

- Do this with the other three sides and tips.

- Now glue these two sections together.

- Thread a string to the top and hang with glory.


I hope you enjoy making these. We had a lot of fun doing them. Be well and I'll be back tomorrow.

Leave a comment